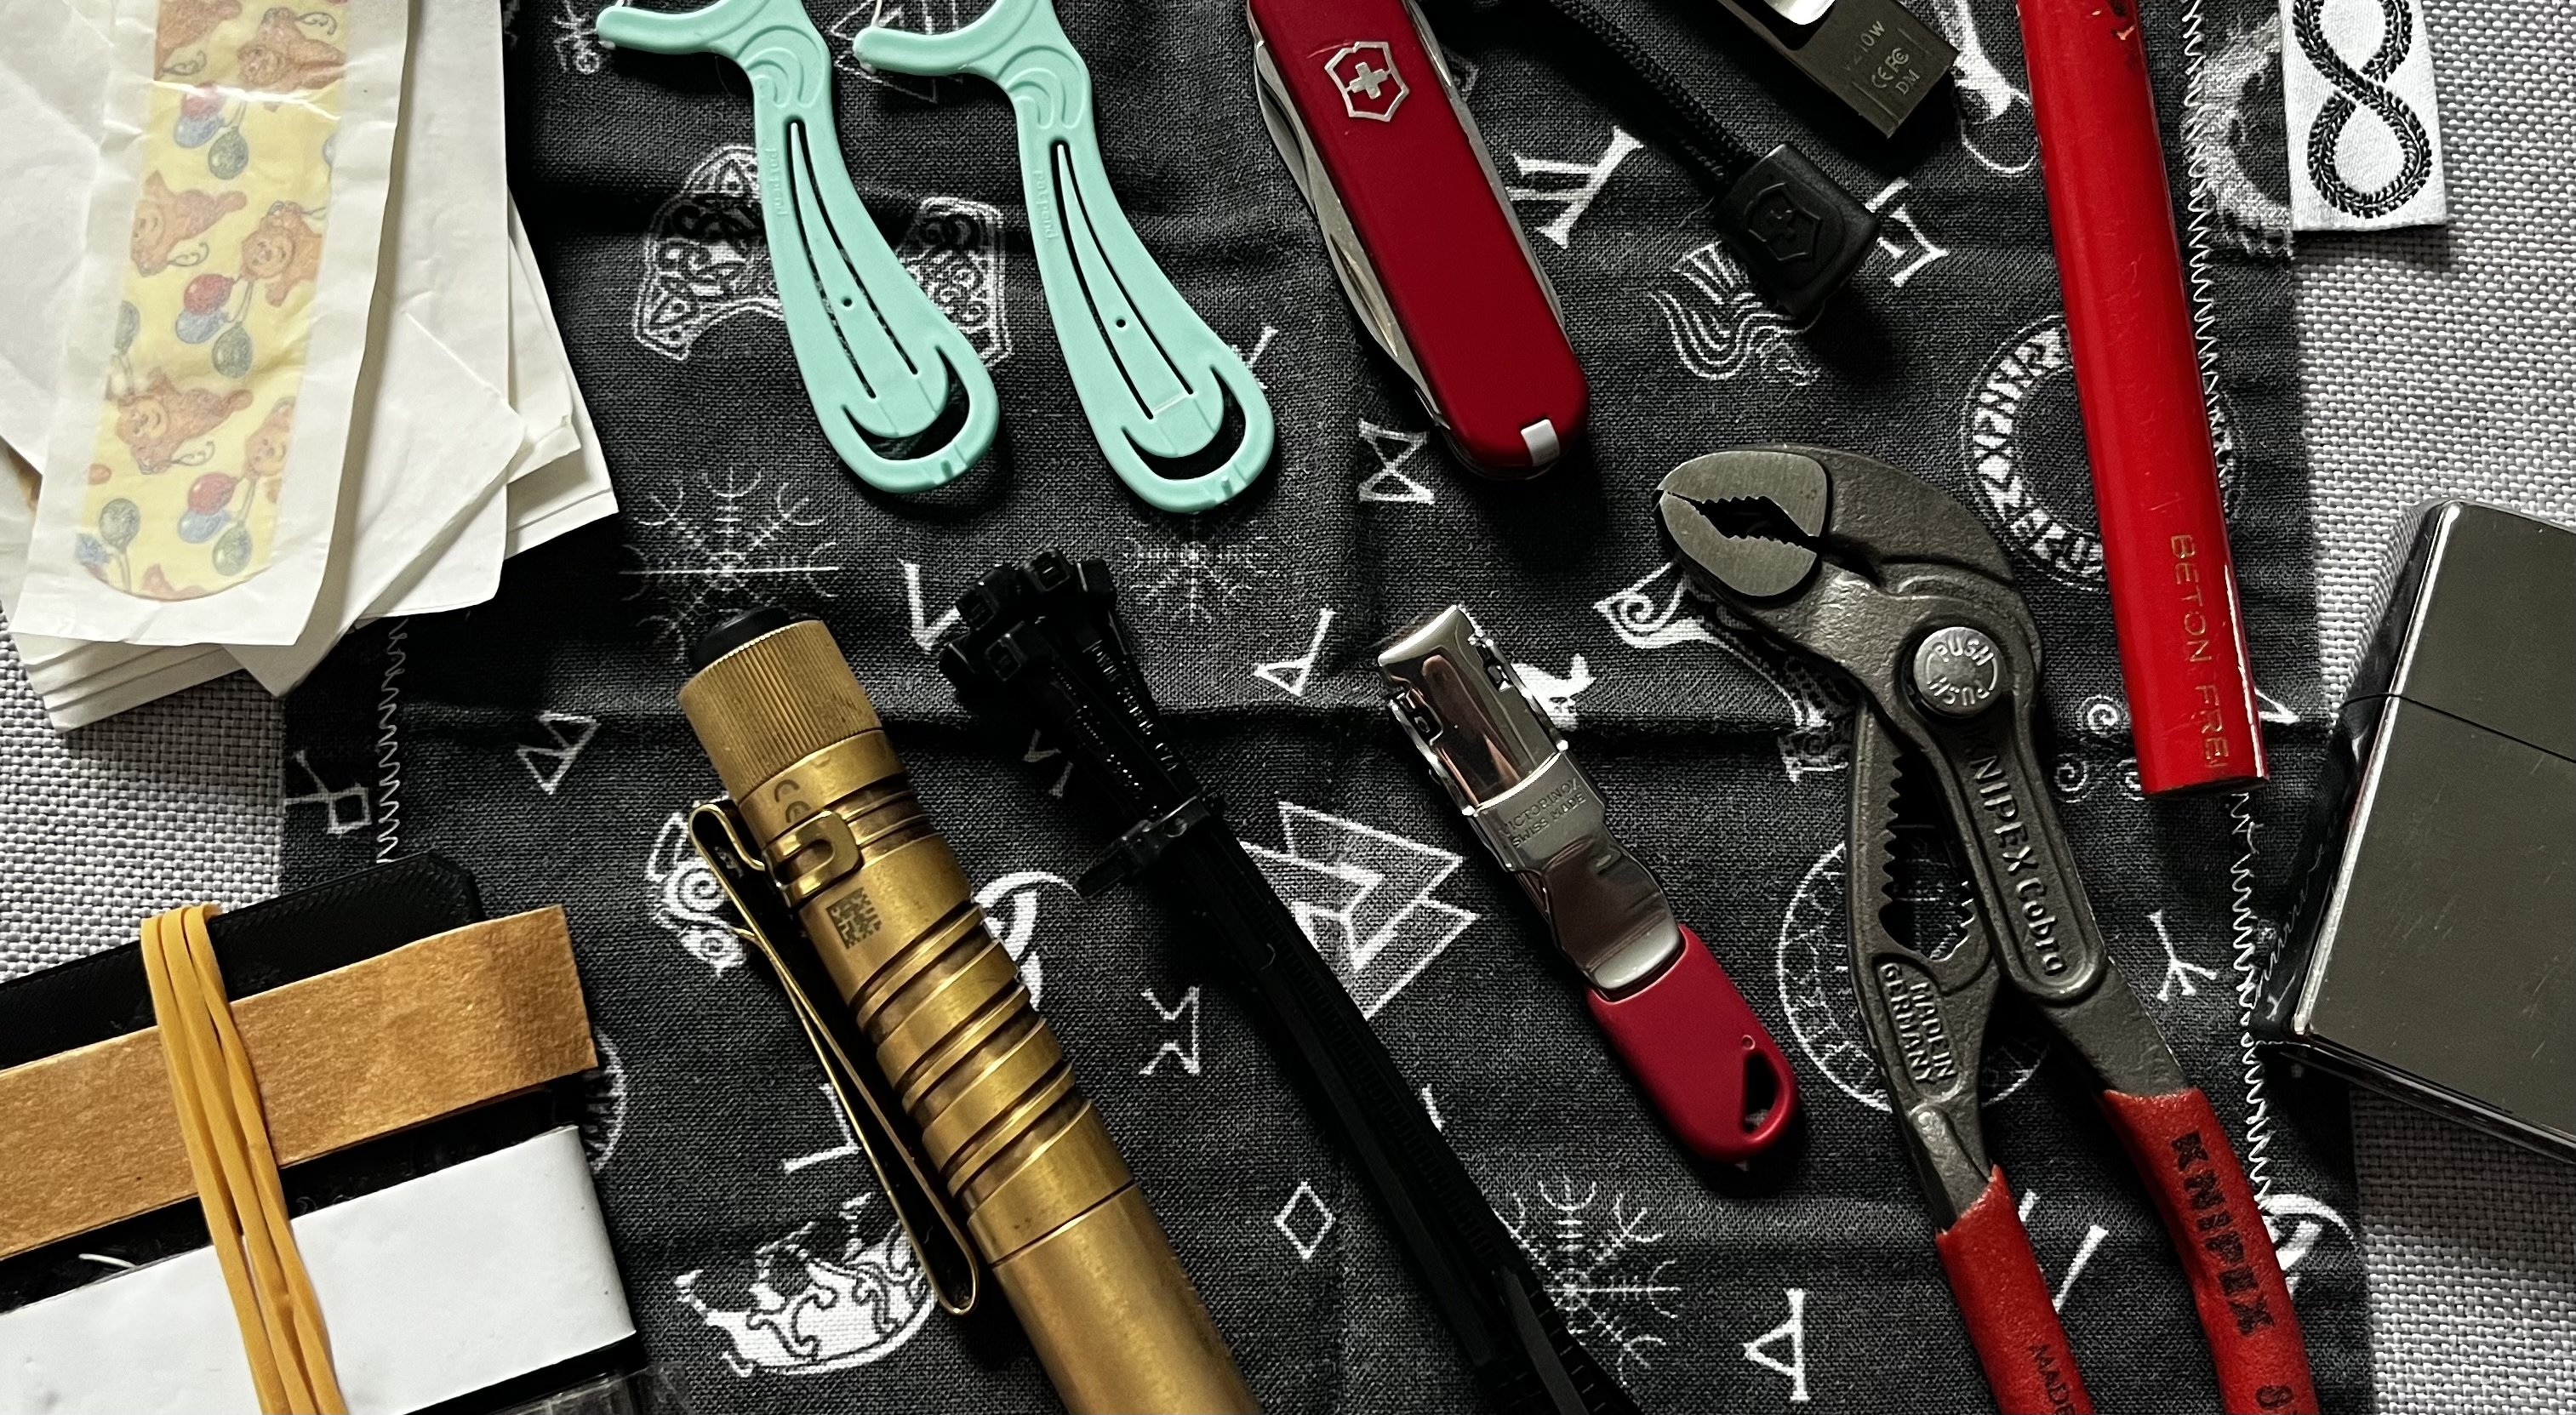
These lights were originally designed to be used with a bathroom mirror I think. I just repurposed them as I was given them for free. But yes, I definitely wouldn’t want to drill holes that big into my kitchen cabinets. The little screw holes don’t bother me that much, they can be covered up once if needed.
Thanks! They actually are mounted each using two little screw, because of exactly what you wrote :)
The lights itself have little hooks around them, basically to hold them in wood, but the layer lines come in handy here, that’s why I printed the mounts with 0.3 layer height.
I use it with calibre. Works perfect. Even displays the book covers (no matter where you got them) as lock screen background of the kindle. Can absolutely recommend this!
Thank you! I am trying my best to get even better :)
Hmm… okay, that’s a point. I will have to try that someday and test how my fans are going to handle that. Indeed I never printed something over 24 hours print time. Mostly I need only smaller parts for around the house, in car or something like that. It’s very uncommon for me to print something like figures or decoration that takes that long to print. My decision to change the fan setup was pretty simple. I needed my printer to be quiet so that I can print at night (when the baby is sleeping). The stock fans were so loud you could hear the printer with closed doors a few rooms away. So I knew Noctua are quiet, but they don’t make the type of fan normally used for part cooling. So I came up with this solution (or gen1 of this to be more precise as this here is already gen3).
Thanks for all this information. Very interesting! Do you have a link to that firmware or a name I can search for? I have no problem with manually leveling, I just need to be able to tell my printer where the highs and lows of my print bed are if you get what I mean.
No I don’t think that. In my case it just looks like the plate (the one unter the printing surface that heats up) seems to be bent even in disassembled state. And yes, I don’t really need another instance of frustration, that hobby brings enough of that along its way :D So if I can do it without a probe I might give mesh leveling a try.
I am using a PEI print bed. I had a glass one before, that i had nearly the same problem with (but never tried this big prints, so it didn’t actually bother me).
Thanks, still learning all the features of fusion 360, but I’m getting better ;)
Actually I am experiencing pretty perfect prints with this setup right now (perfect for me) and I can actually feel the air flow where it’s supposed to. But see and decide yourself :) Here some examples in different materials already printed with this type of fan setup
Victorinox Scales in PLA:
You maybe saw my first TPU iPhone case in this community, here is another design (made by myself this time):
First layer side of a shelf I printed recently in PETG:
It’s not perfectly easy, but if you are a little used to 3D programs like fusion360 and have a caliper, it’s perfectly doable. Oh and this here helped me getting the curves right:
That is a really good tip, but I already disassembled the build plate and checked if it’s flat and compared with when it’s built in. Turns out it’s not perfectly flat… I too am a fan of fixing the hardware first, but in this case it might be cheaper (and easier) to install a BLTouch (or a mesh leveling probe in general). Also I won’t have this issue again in the future with a BLTouch, as I can correct a potential future bending of the plate without much work.
Will this one fit your phone? If yes, I can modify it for you how you like ;)
https://www.thingiverse.com/thing:5031628